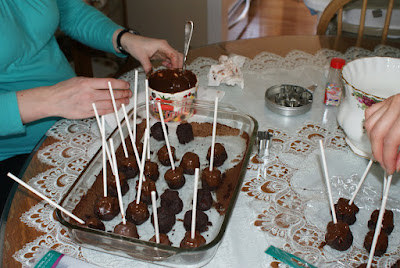
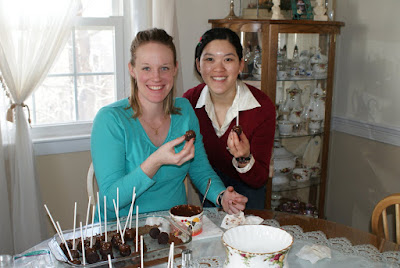
I found more candy-making inspiration and again enlisted the help of Ruthie and Jamie, this time to make "cake pops." Lily was dedicated last Sunday and Ruthie was planning a small reception at their home afterward, so cute food was called for. Arguably, the morning before the event wasn't the best time to learn, but based on our previous successes, we took the risk.
We arrived Saturday morning and helped Ruthie with a few other party preparations and then got to business on the cake pops. The night before, Ruthie baked a chocolate sheet cake. Then we crumbled the cake by hand and added a couple of spoonfuls of frosting so the crumbled cake would hold together.


Wednesday, March 25, 2009
I Do Like A Project: Cake Pops
Posted by
Alli
7:13 AM
K+A
Psalms 139:9-10 If I take the wings of the dawn,
If I dwell in the remotest part of the sea,
Even there Your hand will lead me,
And Your right hand will lay hold of me.
Can't you just email me?
Looking for Something?
People + Places
Labels
Anniversary Video
Australia
Bahamas Birthday Bash
beer
blog=memory
brain
Cambodia
China
Eat-A-Thon
Ecuador
farm share
Fauntleroy
France
fruit
grilling
Hamish
Hmph
Indonesia
Infographic
Kenya
Laos
Love That
Malaysia
meat
mi casa su casa
Moving Pictures
muscles
New Zealand
NEWS (possibly only to me)
Overheard
party
people we like
Portugal
Tahiti
Thailand
The Fling
The Home Country
The Other 70% of the Planet
The Philippines
travel
vegetables
Veggies By Week
Vietnam
Way to stay wed!
Well that's new
What's for Dinner
Yay a project


So yummy! And such a hit at Lily's reception!
What am I going to do re: candy making when you guys move to Singapore?!